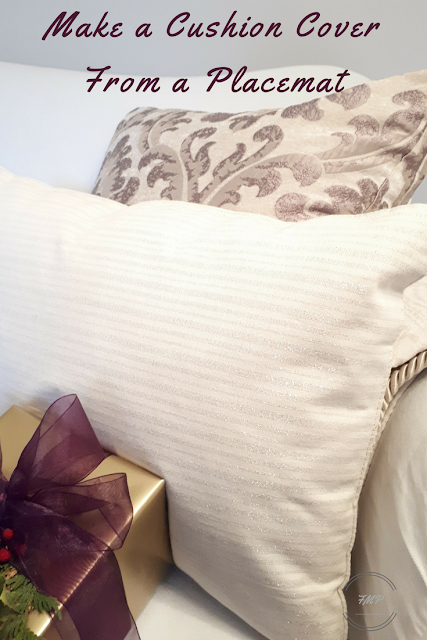
I'm calling this a tutorial, but, really there is not very much to the project.
I decided to make this because I was unable to find a pillow cover I liked. I wanted a fabric with a little shimmer, but, not too blingy.
The placemat was perfect for the look I wanted.
You will need to start with a placemat that has a separate front and a separate back.
In the picture above there are two sides that are sewn together.
Pick apart the seam on one side. I chose the long side because I wanted to add a zipper to accommodate a pillow form that I already had.
If you don't have a pillow form the pillow can be filled with fiberfill and then stitched together by hand or on a machine.
I will admit that adding the zipper was a little tricky only because I didn't want to take out all of the seams.
Once the seam was out, I turned the placemat inside-out and closed the seam using a basting stitch.
The zipper was pinned in the seam and then stitched.
The tricky part was removing the basting stitch. That had to be done carefully as the zipper was closed and the placemat was inside-out.
It took a few minutes, but, eventually, the seam was opened and there was a working zipper.
The best part is that I don't have to store another pillow, only the cover.
Thank you for stopping by.
This is an original Fair Meadow Place 'Make a Cushion From a Placemat' publication.
We Are Linking With...
The best way to see our posts is by email subscription. SUBSCRIBE HERE
It really makes our day when we hear from you so please leave comments below.
You can also use the Contact Form to contact us by email. Messages sent by email are private messages that will not be posted on the Blog.


Such a great idea and so pretty! Merry Christmas!
ReplyDeleteThank you, Pam.
DeleteI was good till we got to the zipper. Then it suddenly became way over my head! But it's a wonderful idea! I should send this to my cousin who sews!
ReplyDeleteSorry, Jeanie. You could just stuff it and hand sew the opening. Thanks stopping by.
Delete